-
PRODUCTS & SERVICESOptimized cooling solutions for modern data centersProducts & ServicesOptimized cooling solutions for modern data centers
-
CAPABILITIESAdvancing liquid cooling technologiesCapabilitiesAdvancing liquid cooling technologies
-
TechnologiesLiquid Cooling InnovationTechnologiesLiquid Cooling Innovation
-
RESOURCESLatest News & InformationResourcesLatest News & Information
-
ABOUTOur history, leadership and ownershipAboutOur history, leadership and ownership
-
CONTACTFacility locations and global operational footprint




7 Tips for Choosing the Best Polyethylene Pipe Cutter?
Choosing the right Polyethylene Pipe Cutter is not a minor purchasing decision. A poor tool can leave crushed edges, uneven cuts, or melted plastic around the pipe wall. Those defects may seem small. They can complicate fittings, reduce joint quality, and slow an entire installation.
David A. Willoughby, author of Plastic Piping Handbook, offers a useful guiding principle: “The tool must support the pipe, not distort it.” That idea should shape every buying decision. A dependable Polyethylene Pipe Cutter needs a sharp, replaceable blade and a stable frame. It should match the pipe’s outside diameter and wall thickness. Handle comfort matters when several cuts are required. So does cutting speed. A tool that feels impressive in a showroom may become tiring beside a trench.
This guide examines seven practical selection points, including blade design, cutting capacity, alignment, safety, maintenance, portability, and total operating cost. Real working conditions deserve attention. Mud on the pipe, cold weather, limited space, and awkward angles can expose weaknesses quickly. Some tools also claim universal performance. That claim deserves skepticism. “Universal” can mean acceptable, not excellent. The best Polyethylene Pipe Cutter should produce a clean, square cut without excessive force. It should also remain predictable after repeated use. That is where many evaluations become incomplete. Price matters, but replacement blades, downtime, and damaged pipe matter too. A careful choice may look slower at first. It often saves time later.
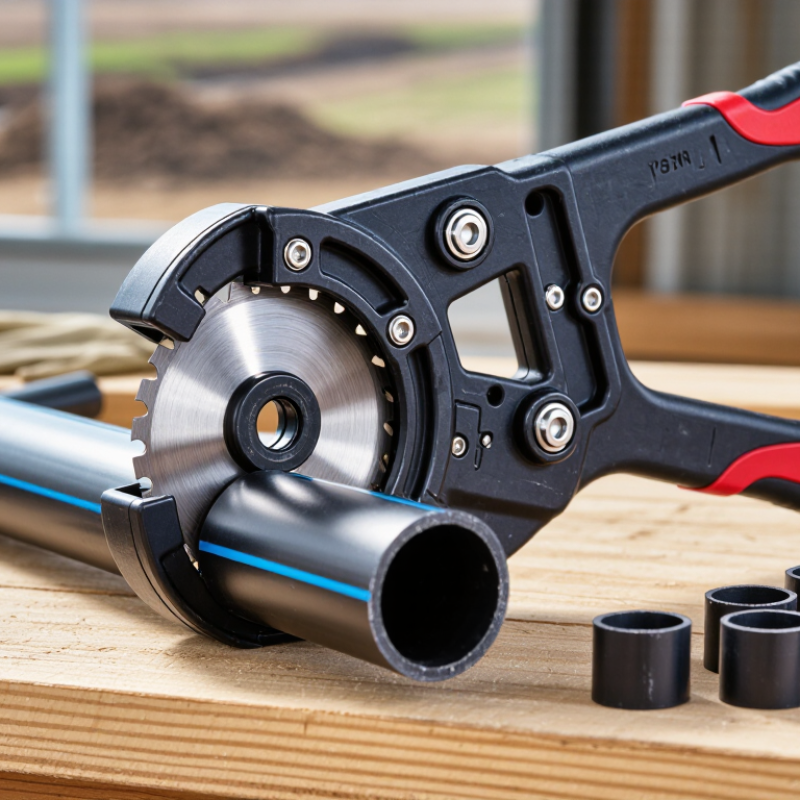
Table of Contents [Hide]
Understand the Pipe’s Material, Diameter, and Wall Thickness
Choosing the best polyethylene pipe cutter starts with the pipe itself. Polyethylene may be flexible, semi-rigid, or heavily reinforced. Check whether it is HDPE, MDPE, or another PE grade. A cutter designed for thin tubing may crush a thick utility pipe. The blade should create a square cut without tearing the outer surface. I have found that a clean edge matters more than cutting speed.
Tip: Measure the outside diameter with calipers, not by visual estimation. Diameter affects the cutter’s opening and cutting force. Also check the wall thickness. Two pipes can share the same diameter but need different tools. A thin wall may deform under excessive pressure. A thick wall may require a ratcheting mechanism or a stronger replaceable blade. Small details matter.
Tip: Test the cutter on a short offcut when possible. Watch for flattening, spiraling, or rough edges. The handle should remain stable, even with wet gloves. Avoid choosing only by the largest listed diameter. That specification may assume ideal material and perfect technique. I once selected a cutter with enough capacity but poor control; the cut was usable, yet not truly square. For field work, inspect blade sharpness, grip comfort, adjustment range, and spare-blade availability. A practical cutter should match the material, diameter, and wall thickness you actually handle.