-
PRODUCTS & SERVICESOptimized cooling solutions for modern data centersProducts & ServicesOptimized cooling solutions for modern data centers
-
CAPABILITIESAdvancing liquid cooling technologiesCapabilitiesAdvancing liquid cooling technologies
-
TechnologiesLiquid Cooling InnovationTechnologiesLiquid Cooling Innovation
-
RESOURCESLatest News & InformationResourcesLatest News & Information
-
ABOUTOur history, leadership and ownershipAboutOur history, leadership and ownership
-
CONTACTFacility locations and global operational footprint



How to Choose an Infrared Thermometer in 2026?
Choosing an Infrared Thermometer in 2026 requires more than comparing temperature ranges and screen sizes. A reliable device should match the material, distance, surface condition, and working environment. Metal pipes, painted walls, food containers, and human skin reflect infrared energy differently. That difference can change the reading.
John Snell, a respected infrared thermography educator, has said, “The quality of an infrared measurement depends on understanding what the camera sees.” His point applies to handheld thermometers too. A high-resolution display cannot correct poor technique, shiny surfaces, steam, dust, or an incorrect emissivity setting. Accuracy starts with the user.
Look for documented accuracy, repeatability, response time, and a suitable spectral range. A wide measurement range sounds impressive, but it may not matter for electrical panels or HVAC checks. Check the distance-to-spot ratio before buying. A thermometer rated 12:1 may measure a 10-centimeter target from 1.2 meters, but only under suitable conditions. Small targets need closer readings or a tighter optical ratio.
Calibration matters.
Choose models supported by traceable testing and clear technical documentation. For professional work, consider alarm limits, data logging, Bluetooth connectivity, and protective housing. For household tasks, these features may add cost without improving decisions. Even experts can misread a surface when reflections resemble heat.
This guide examines practical selection criteria, common marketing claims, and mistakes that appear during real measurements. It does not promise perfect readings. Instead, it shows how to choose an Infrared Thermometer that performs consistently within its stated limits.
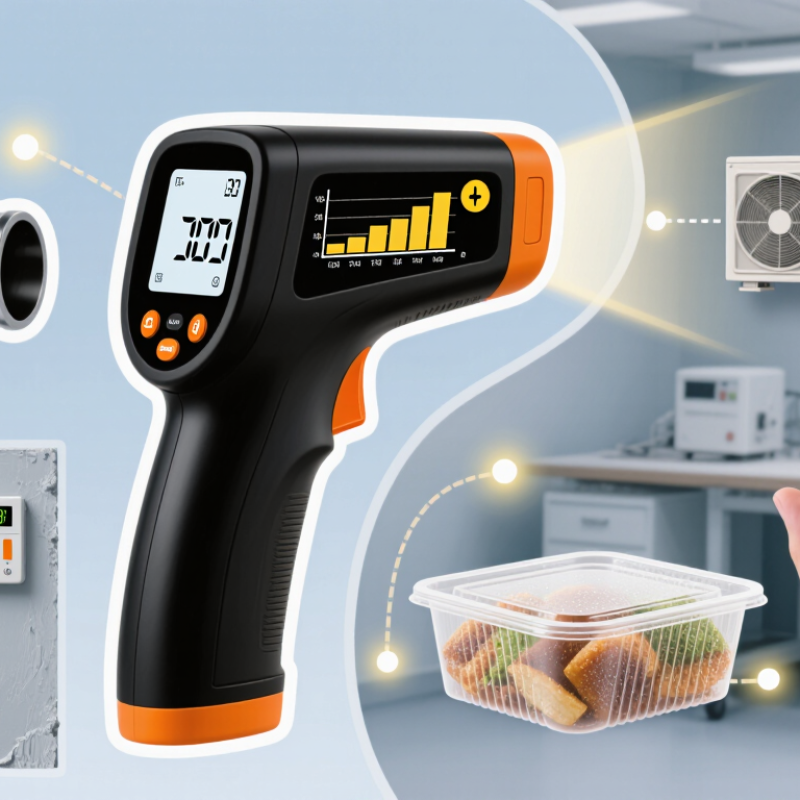
Table of Contents [Hide]
What an Infrared Thermometer Measures and How It Works
How to Choose an Infrared Thermometer in 2026?
An infrared thermometer measures surface temperature without touching the object. It senses infrared energy emitted from the surface, then converts that energy into a temperature reading. The device does not measure the temperature inside food, machinery, or the human body. It measures only what its sensor can “see.”
Surface condition matters. Shiny metal, glass, steam, dust, and wet areas can distort readings because they reflect energy or block the sensor. Emissivity settings help correct some materials, but they are not magic. A thermometer’s distance-to-spot ratio also matters. At a greater distance, the measured area becomes larger. A small display may hide this limitation. I have found that a rushed reading can look precise while measuring the wrong surface.
Tips: Keep the lens clean and allow the device to adjust to room temperature. Aim at a flat, dry area and hold the recommended distance. For cooking, check the thickest part with a contact probe when internal temperature matters. For equipment checks, measure the same location repeatedly. Compare readings with a trusted reference during routine verification. Avoid measuring through glass. Readings can change quickly. Even careful users can miss airflow, sunlight, or nearby hot surfaces. That is why recording conditions beside each measurement is useful.